Getting Your Sidel Matrix Lamps Right
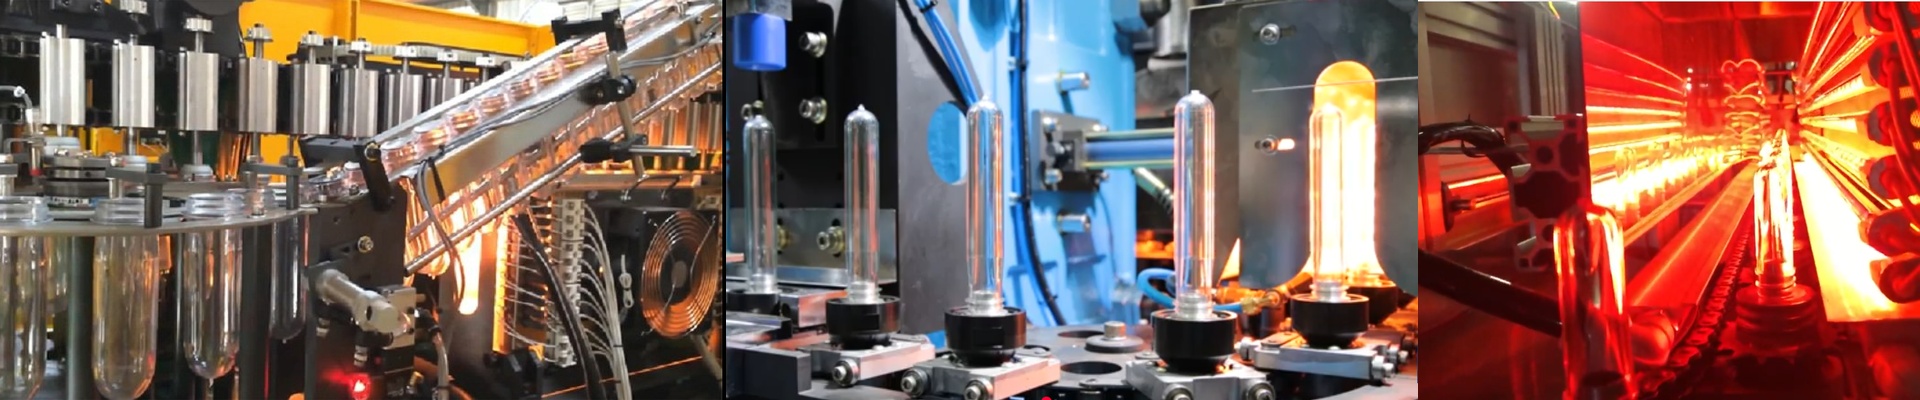
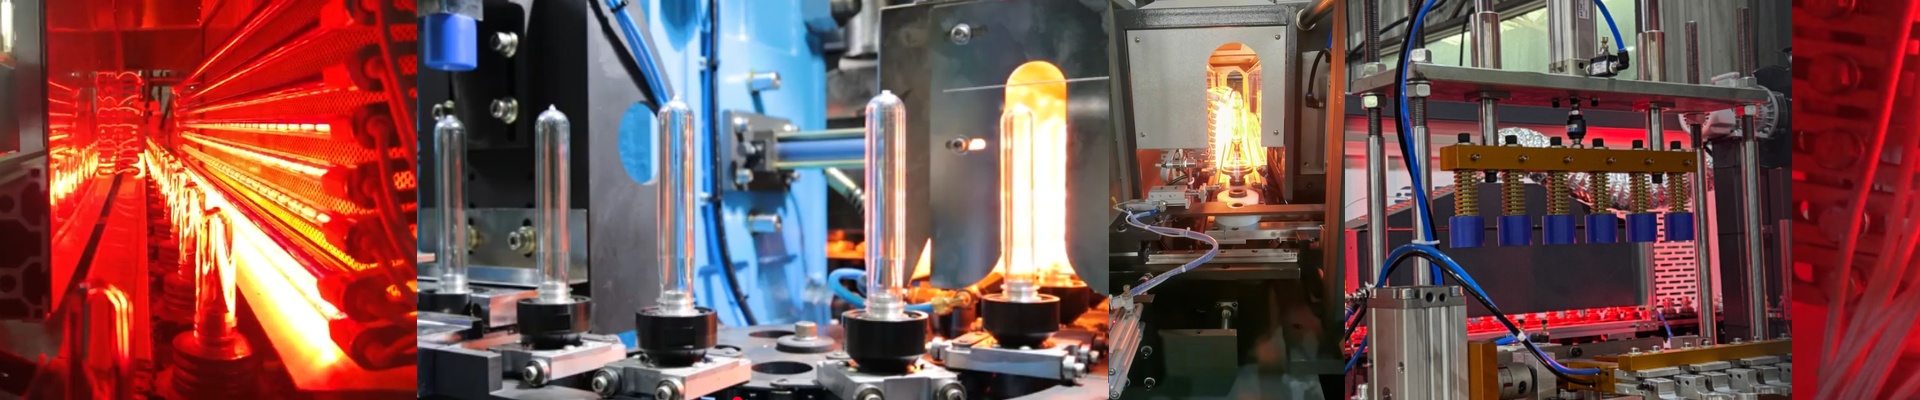
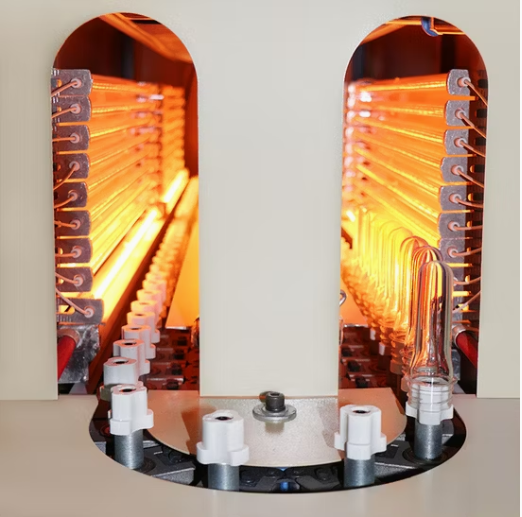
When you’re looking for a replacement lamp for a Sidel Matrix system, “close enough” just doesn’t cut it. I’ve seen people try to eyeball the specs, but that’s a recipe for a headache. To get it right, you need a 1:1 match on wattage, voltage, and spectral output. Why? Because if the heat density is off by even a tiny bit, your bottles start acting up. You’ll end up with weird wall thickness or that annoying pearlescence in the PET. Not a great look. The deal with the heat curve We build our lamps to mimic the OEM’s electrical footprint exactly. We calibrate the tungsten filament resistance to match your Sidel power supply perfectly. Here’s the thing: we obsess over the wattage per millimeter. If that’s off, your heating zone shifts. Suddenly, you’ve got cold spots or, worse, burnt PET because the energy isn’t hitting the preform at the right time as it moves down the conveyor. The nitty-gritty on materials We use high-purity quartz glass. This lets the short-wave infrared radiation shoot straight through to the PET without getting trapped in the lamp itself. And we don’t mess around with the connectors. We use standard R7s or Sk15 interfaces so they snap in tight. A loose connection is a nightmare—it creates arc points that can literally fry your sockets. Plugging them in These are drop-in replacements. You wire them up, and you’re good to go. But a quick heads-up: if you’re pushing these lamps to the limit to hit faster cycle speeds, keep an eye on your oven’s ventilation. Higher heat means more stress on your cooling blowers. Make sure they’re clean and humming along, or you risk overheating the oven housing. At the end of the day, we focus on the thermal profile above everything else. That’s the only way to make sure your preforms hit the blow station at the exact temperature they need to be.