When the heating element in your heavy-duty warming display starts to fail, the front of house goes quiet fast. Tickets back up, product temperature drifts, and the crew starts improvising with whatever heat they can find—none of which helps consistency. In a busy bakery, pizzeria, or fast-casual line, that downtime costs more than parts. It costs trust.
What matters, technically
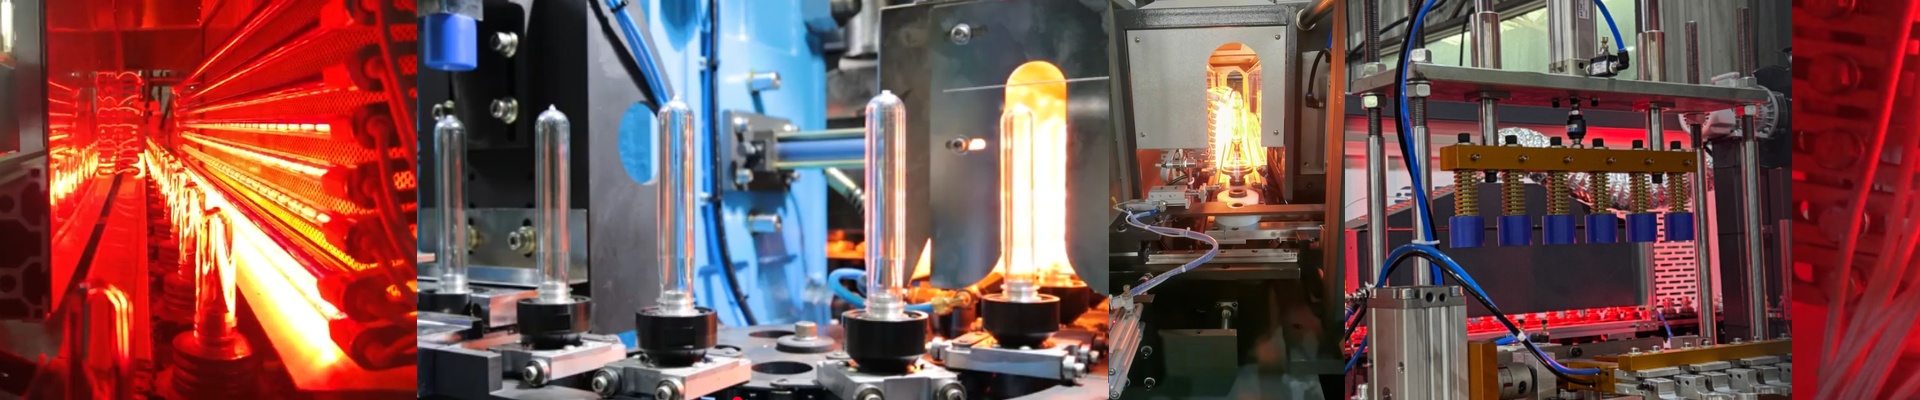
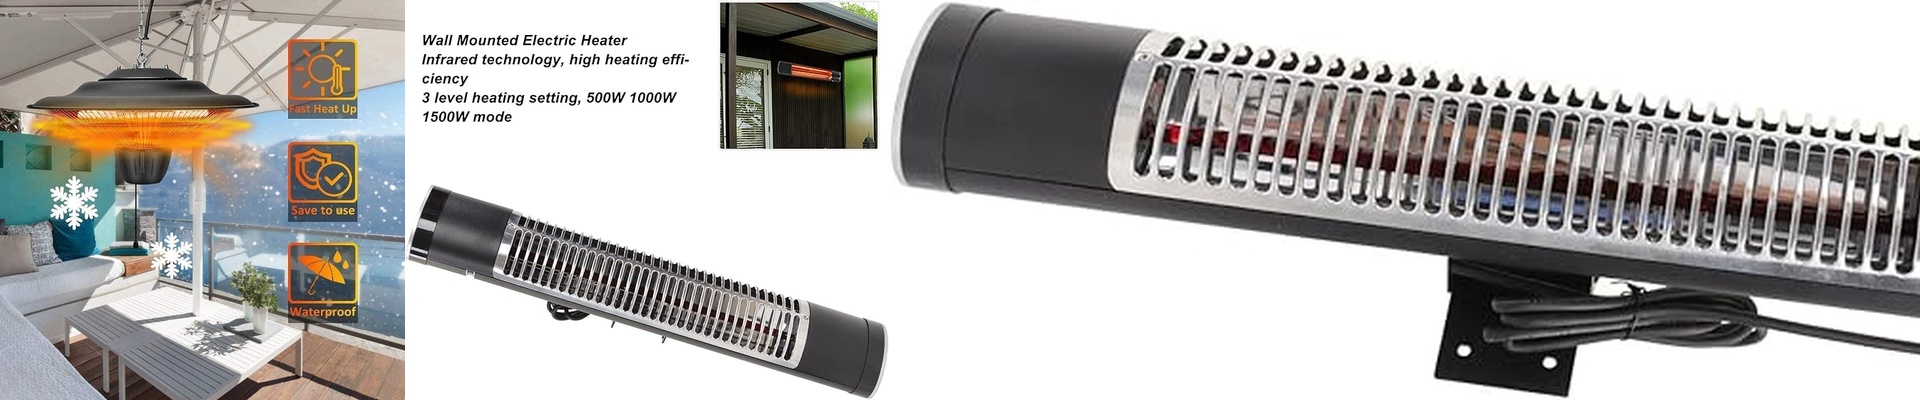
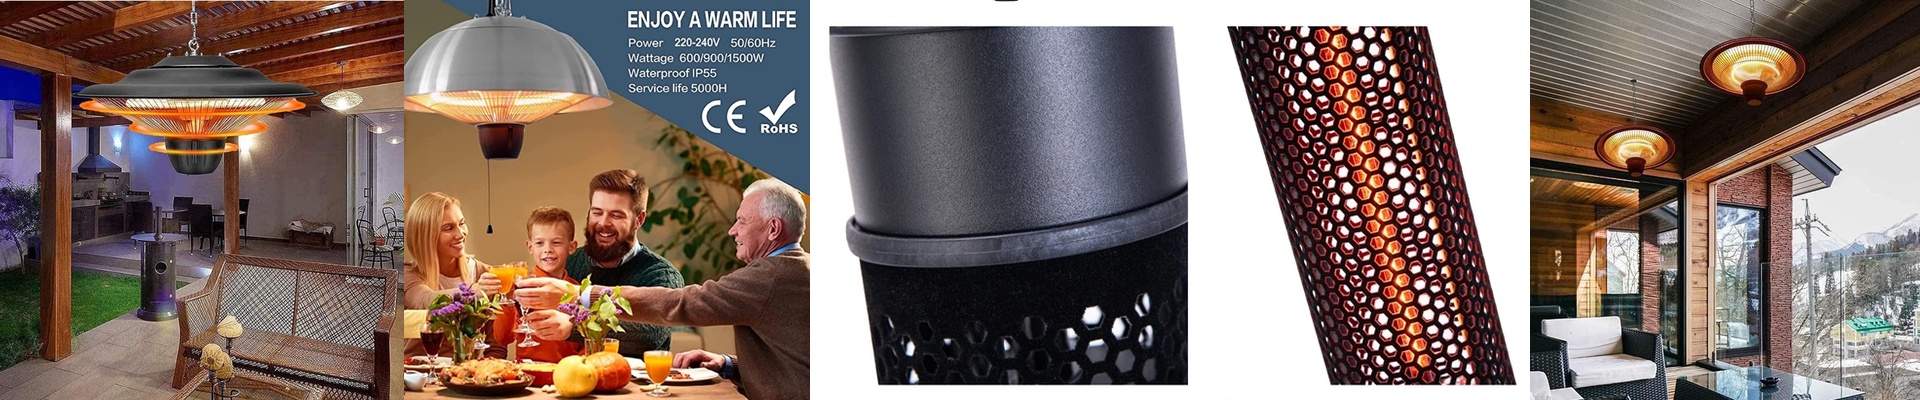
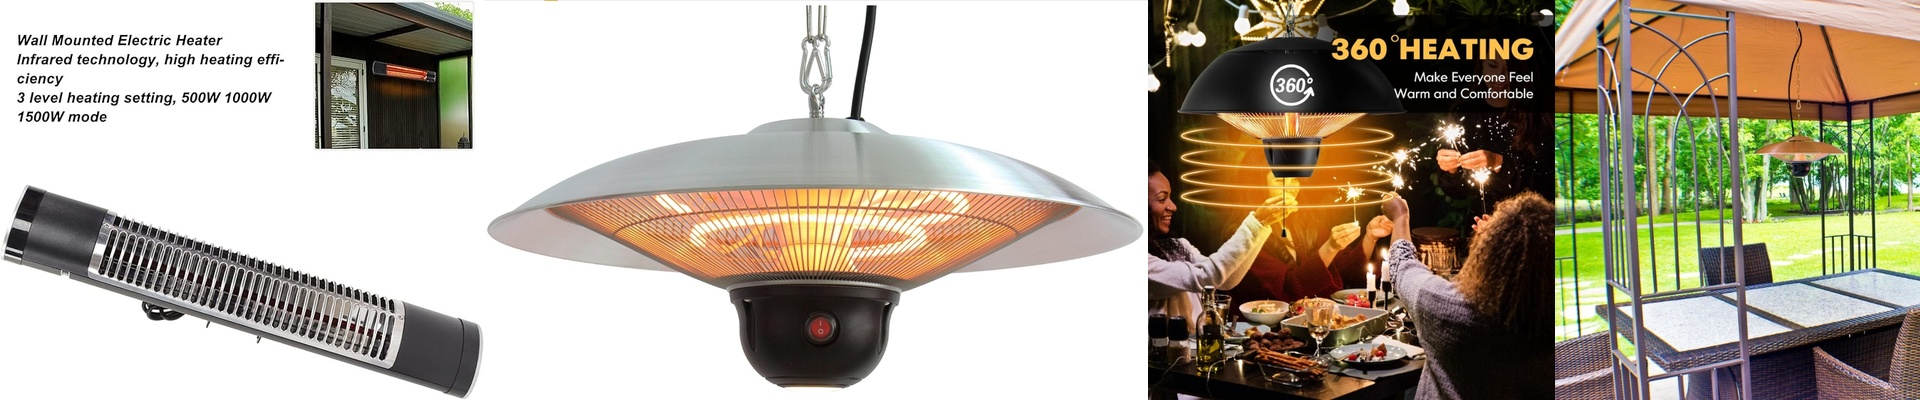
A replacement thermal element for a heavy-duty warming display isn’t just any coil. It’s built around controlled infrared output and quick thermal response, usually using quartz or short-wave emitters that lay down even radiant heat without cooking the surrounding cabinet. You’ll typically see 120V or 240V configurations, with wattage matched to the cabinet volume and the load it handles, so the warming chamber recovers fast after the door keeps cycling. Fit is non-negotiable. Element length, mounting bracket spacing, and terminal type have to match the original footprint. That’s what keeps the install straightforward and the heat pattern where it belongs—on the product, not on the frame.
Why this matters in practice
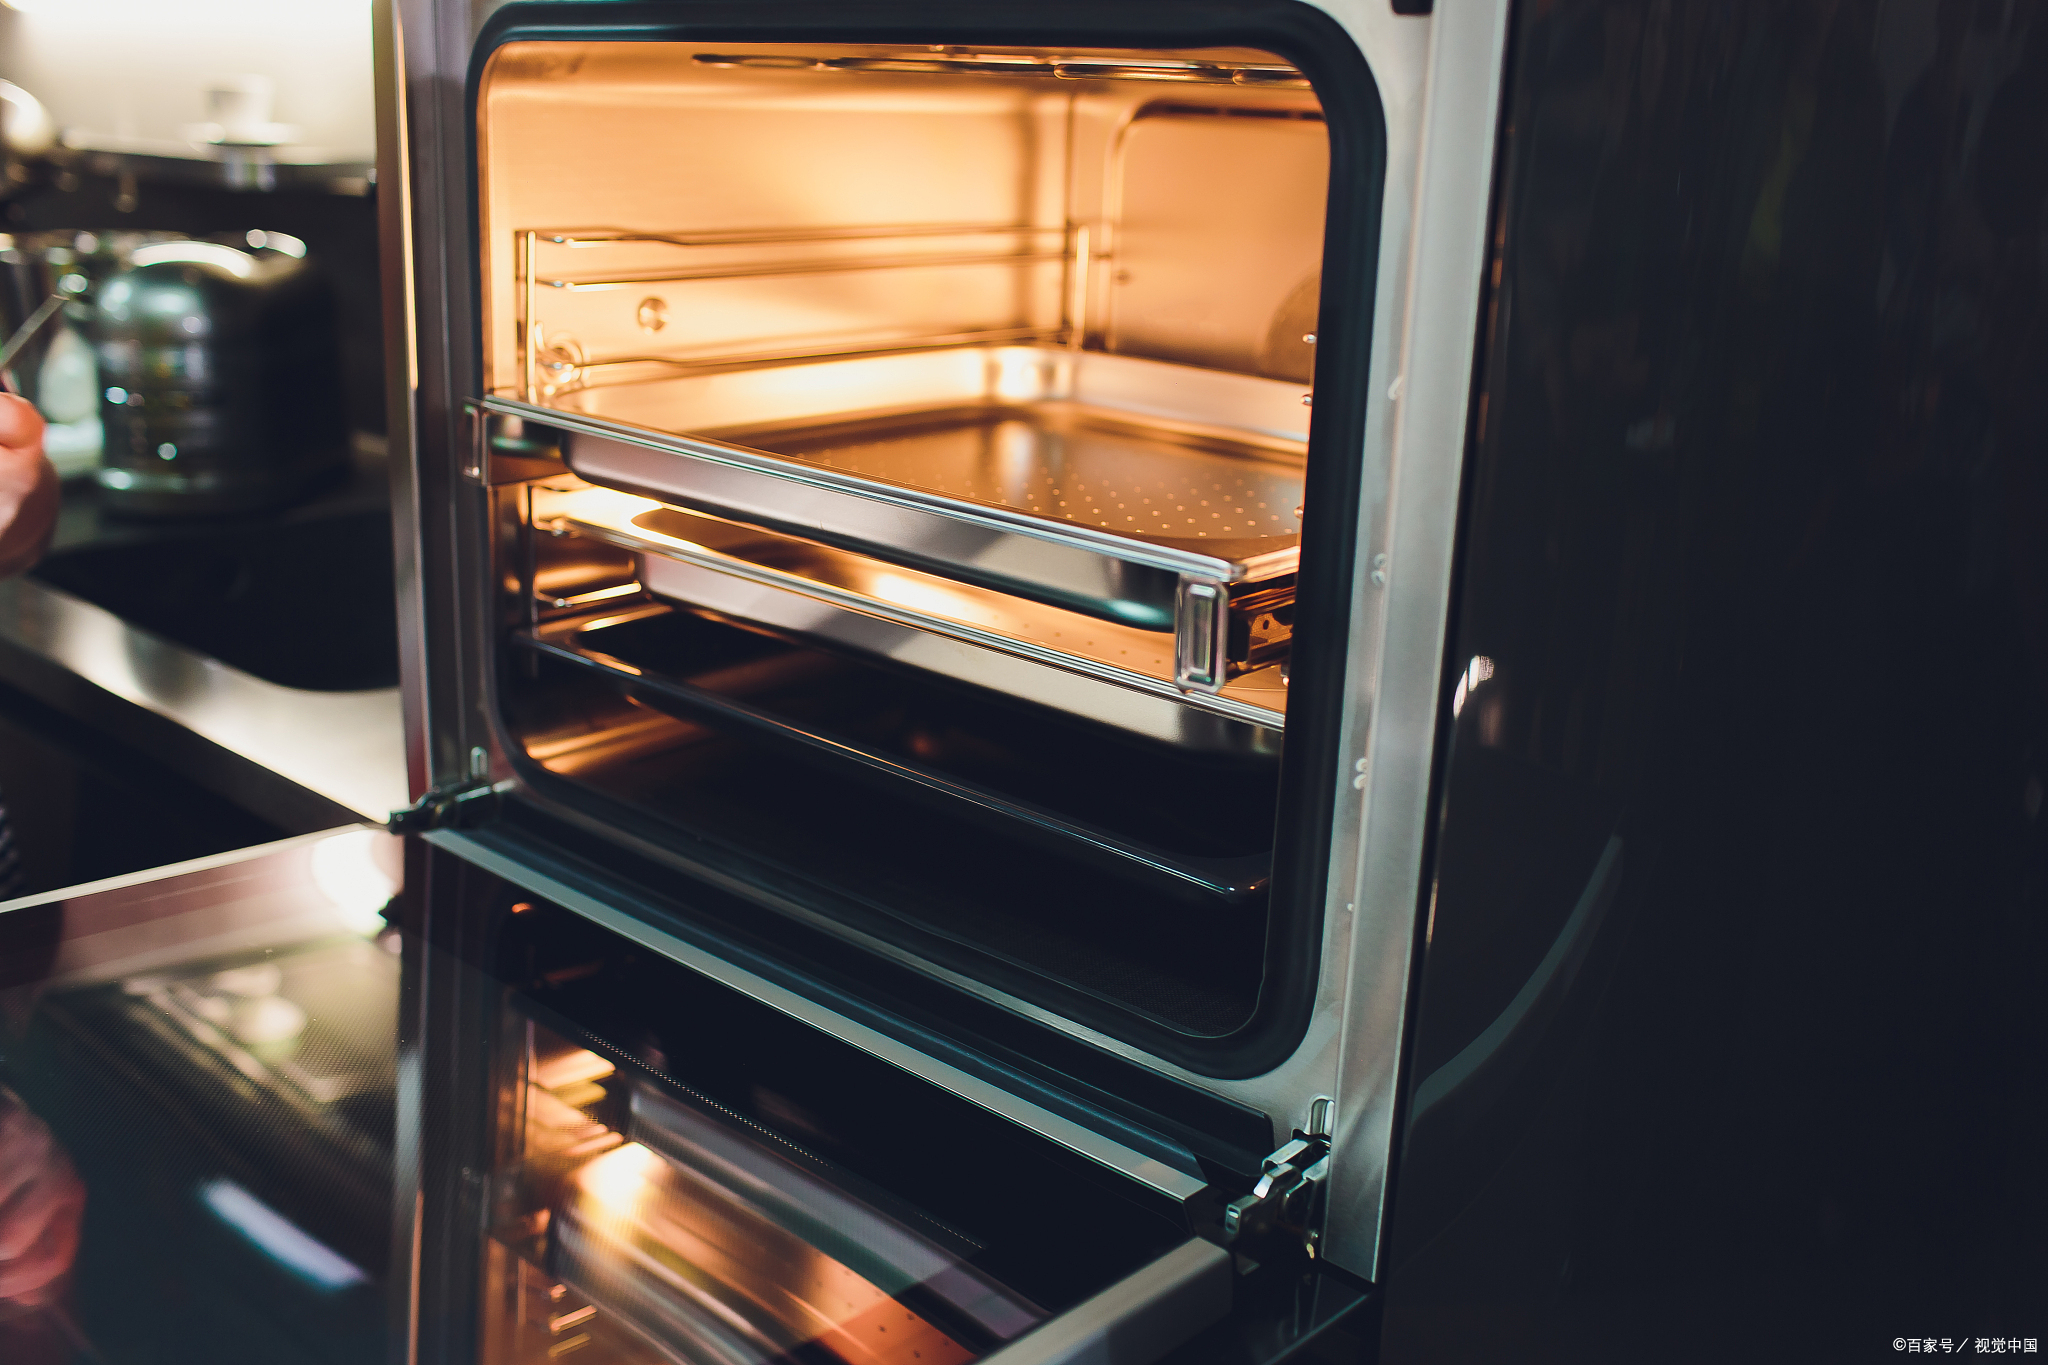
On a warming display, the real job is holding temperature while the door opens and closes, trays slide in and out, and the line keeps moving. Put in a properly matched element, and you restore the intended heat profile. Food stays in the safe holding band, and quality holds: crusts stay crisp, sauces stay at temp, and the display looks consistent instead of patchy. The payoff is operational. Fewer temperature swings. Fewer rejected items. And you stop pushing the element past its design load. Over time, that means fewer emergency service calls and less wasted energy chasing recovery heat.
What to know before you order
Before you order, verify the cabinet make and model, plus the existing element length, wattage, voltage, and connector/terminal style. Many warming displays also rely on a thermostat that’s on point and proper airflow. If either is out of spec, a new element will run hotter than needed—and burn out sooner. The swap itself is straightforward: power off, let it cool, and replace. Still, take a minute to check alignment and clearance so the element can’t contact shields or shelving.Match the spec, and the heat will do its job.